Starting Instructions
1. Preparation
2. Install Arduino IDE
3. Connect your DevDuino
4. Install DevDuino Library
5. Upload Examples
6. Set the RTC (Real Time Clock)
Connectivity
1. Connect to Bluetooth
2. Connect to Wi-Fi
Materials and Documentation
1. Download Library
2. Pinout
3. Schematics
4. Gerbers
5. Bill of Materials
6. Burn the bootloader
7. Sprite converter
8. Gerbers files for µStripboard
9. Gerbers files for Extension board
10. Circuit Maker Template for Modules
11. Circuit Maker Template for Expansion Boards
12. Troubleshooting FAQ
1. Preparation
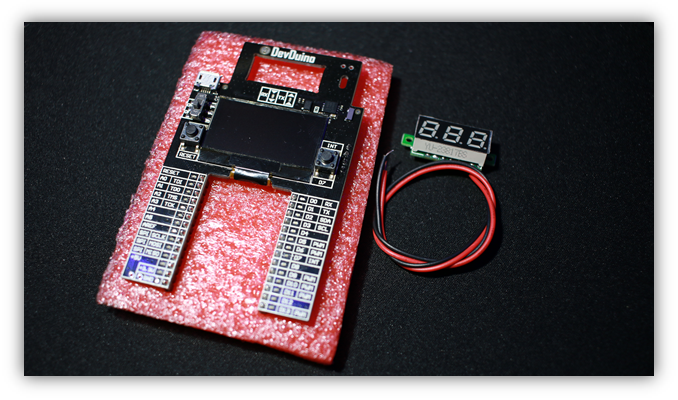
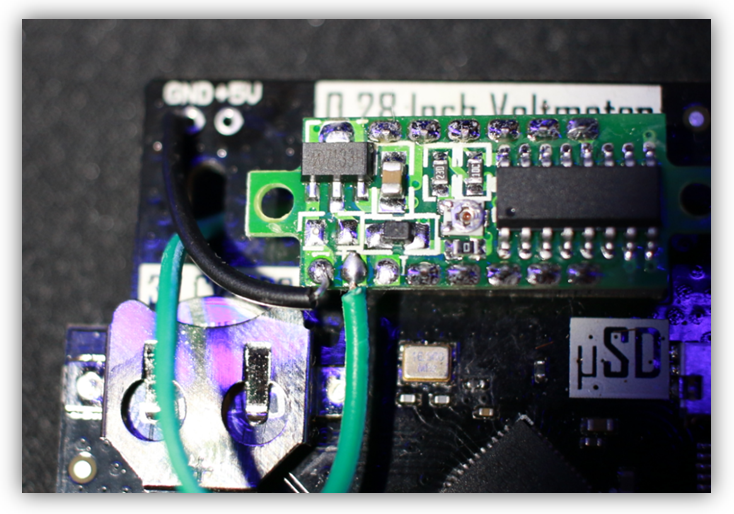
1.1 Insert the 0.28 inch voltmeter in its slot (you may need to force a little bit) and a 3V CR1220 battery in the battery holder. For 3 wires version voltmeter, solder the Black wire to the GND, the Red wire to the +5V and the remaining wire is your measuring testpoint (it’s also recommended to replace this wire by a jumper wire).
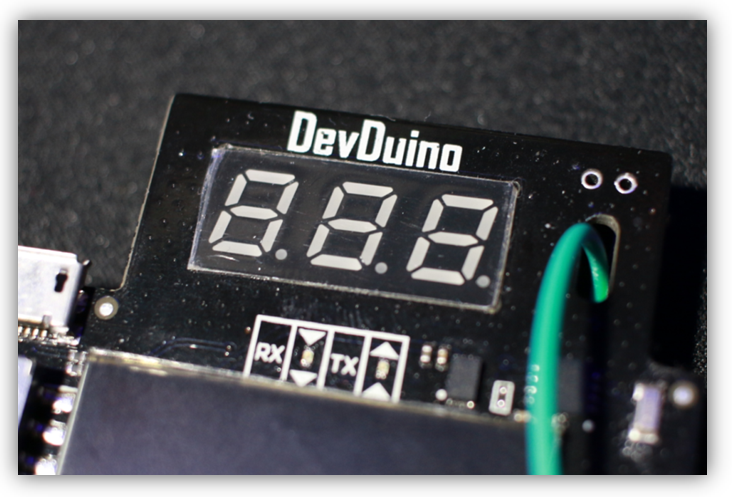
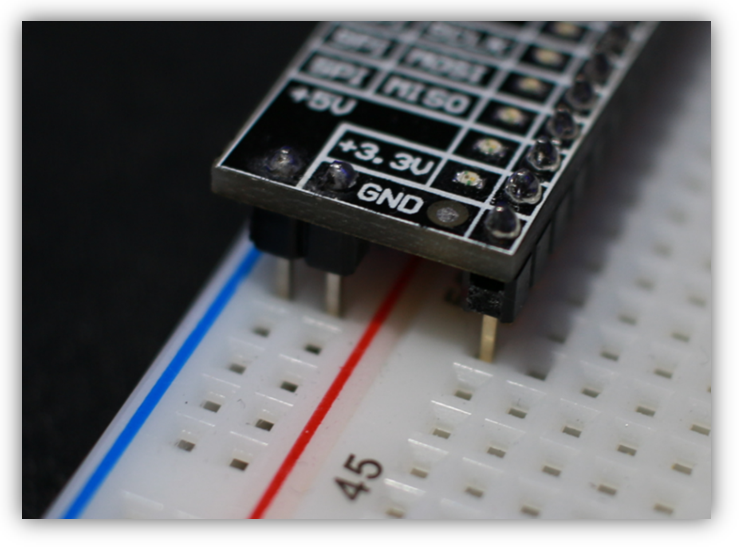
1.2 Plug the board on a 830 tie-points breadboard.
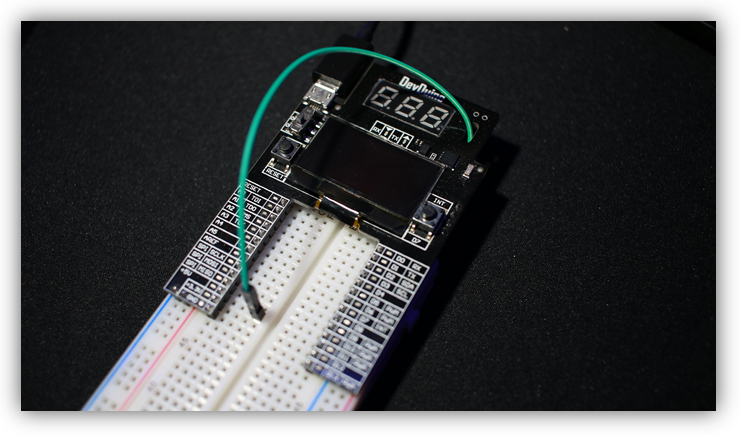
1.3 (Optional step) Solder 2 pins in 2.54 mm on the board to connect your +5V and GND to the power rails.
2. Install Arduino IDE
2.1. Go to arduino.cc
2.2. Download latest Arduino IDE Installer. (Release 1.8.5 or higher – Donations are highly encouraged!)
2.3. Install Arduino IDE.
2.4. Launch Arduino IDE so you can get something like this:

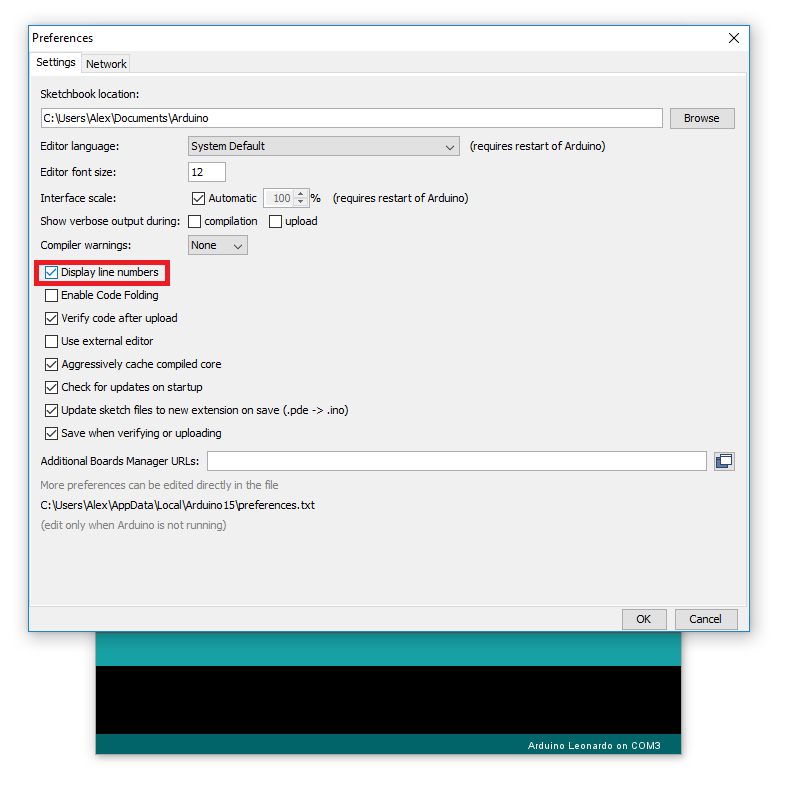
2.5 Go to File>Preferences and activate “Display line numbers”
3. Connect your DevDuino
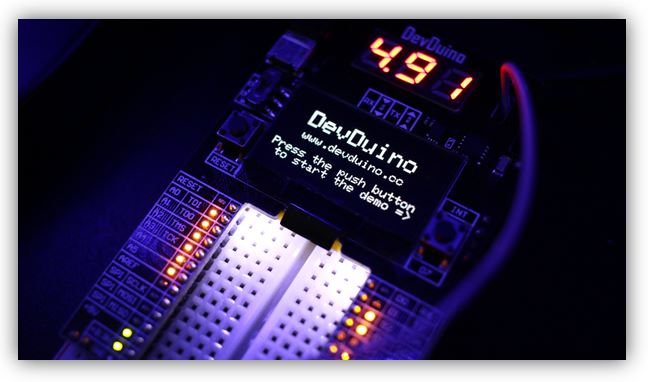
3.1. Connect your DevDuino to your computer with a USB cable (Micro-B) and make sure it is powered on by selecting the slider to ON.
You should normally get the following screen:
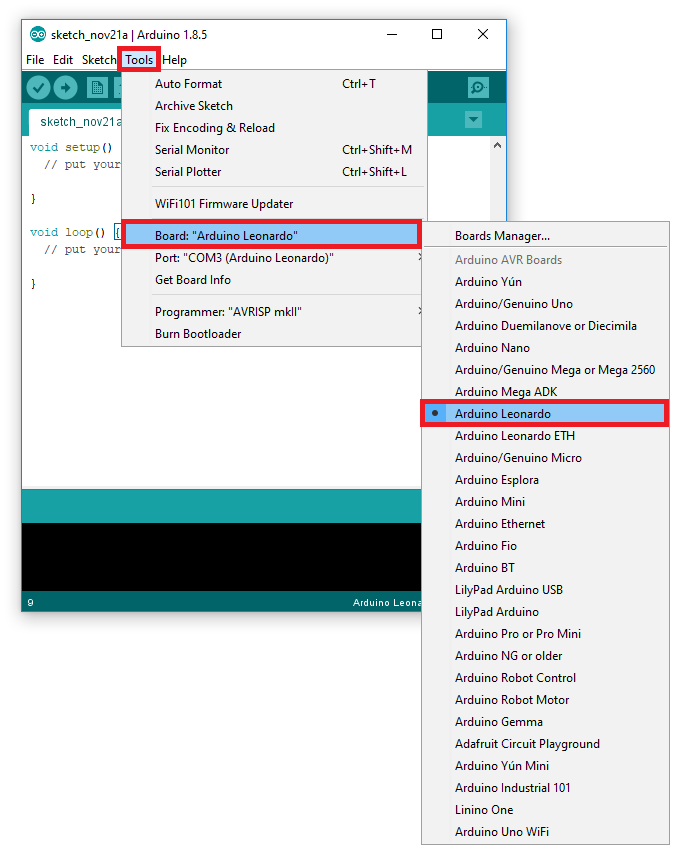
3.2. On your Arduino IDE: Go to Tools>Board and select Arduino Leonardo.
3.3. Then go to Tools>Port and select the COM Port connected to: (Arduino Leonardo).
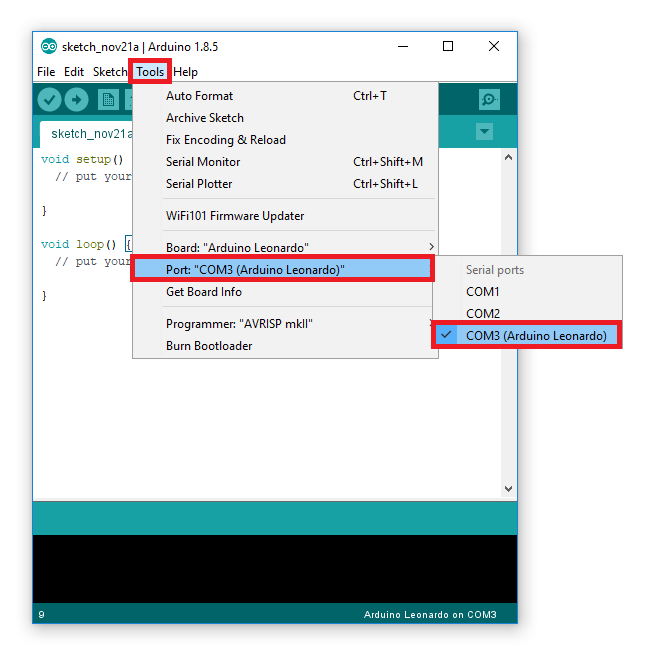
4. Installation DevDuino Library
4.1. Download the DevDuino Library: DevDuino Library (do not extract it)
4.2. On your Arduino IDE: Click on Sketch>Include Library and add the downloaded ZIP Library.
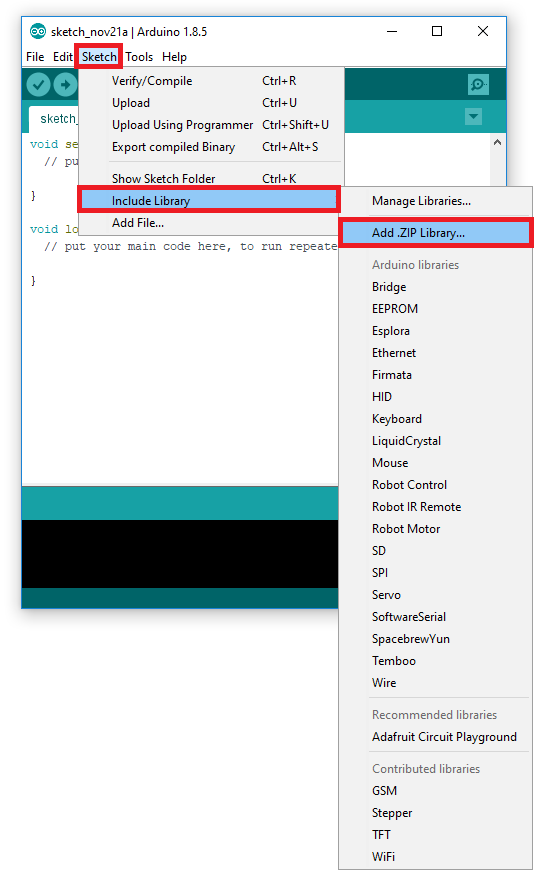
4.3. Check that the library has been successfully added.
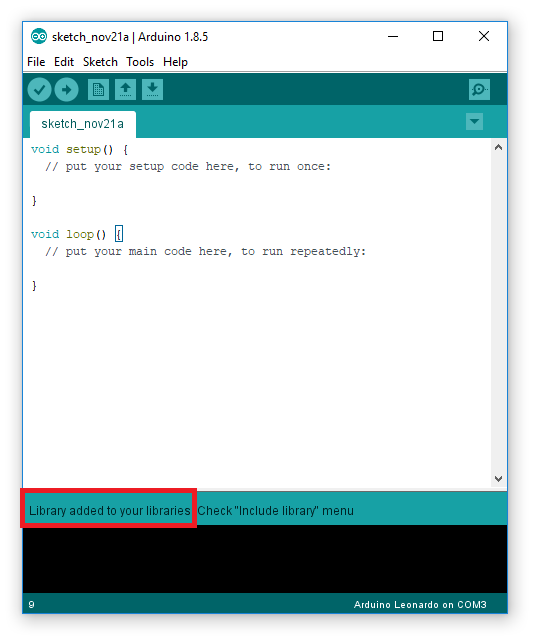
5. Upload Examples
5.1. Go to File>Examples>DevDuino and select one of the examples
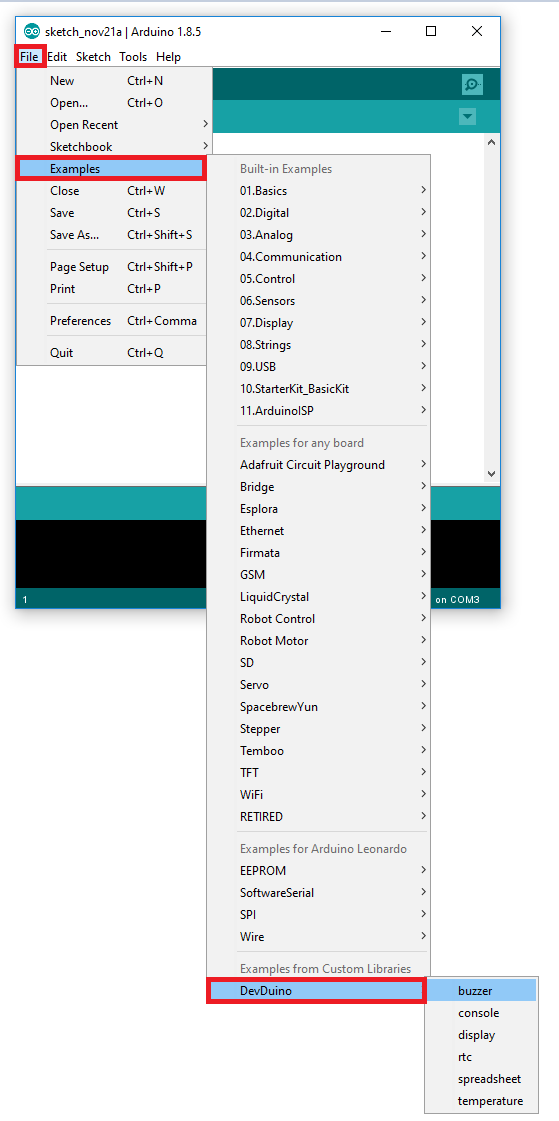
5.2 Upload your Example:

RX LED and TX LED should be blinking while uploading:
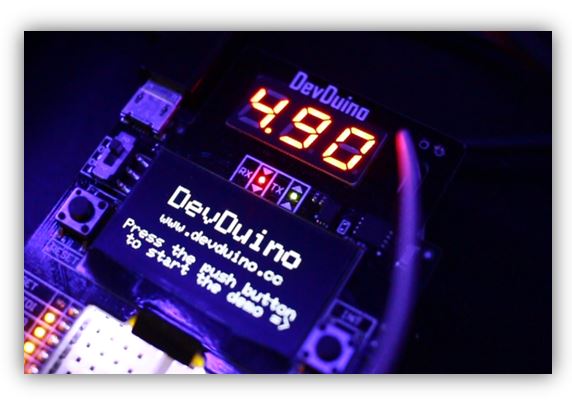
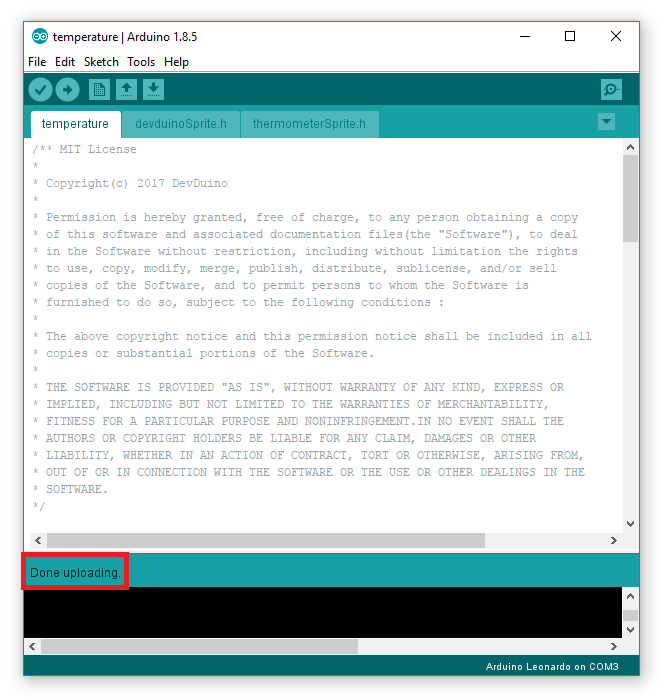
5.3 Wait until your example has been successfully uploaded:
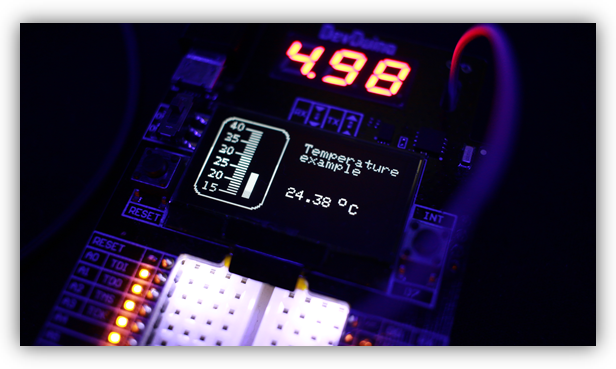
5.4 See the result
6. Set the Real Time Clock
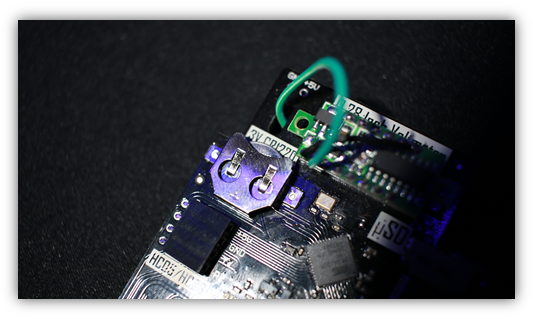
6.1 Place a 3V CR1220 battery in the battery holder.
6.2 Open the DevDuino example called: “rtc”
6.3 Edit line 34 the affected value to SET_RTC from “false” to “true” and update the date and time in the 24hours format:

6.4 Upload the example
Note: Unless you edit the affected value to SET_RTC from “true” to “false”, it’s gonna reset the date and time every time you are going to upload this example.

